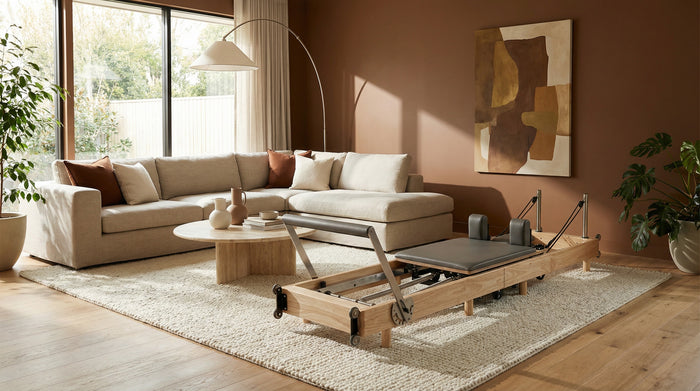
If you've just brought home your first reformer, the spring system can feel like the most technical part of the whole machine. Colour-coded loops, numbered hooks, combinations that seem to multiply the more you read about them. The truth is simpler than it looks — and once you understand the underlying logic, you'll find yourself adjusting with confidence rather than guessing.
The Basic Principle
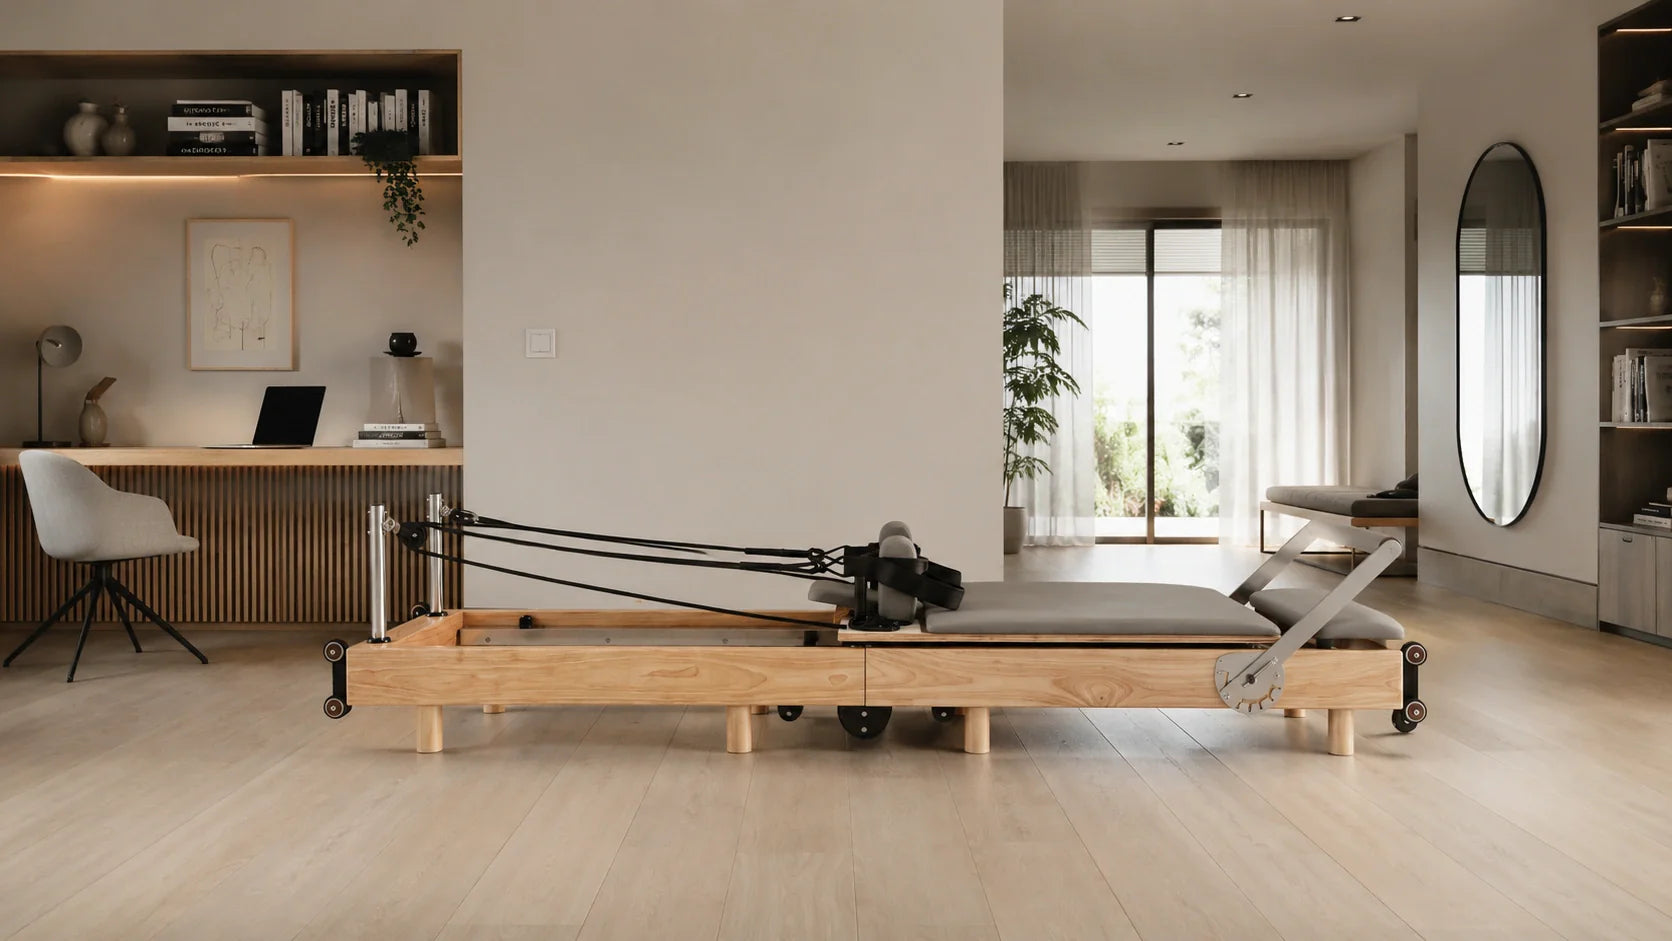
Springs on a reformer don't make exercises harder or easier in the way that heavier weights do. They change the nature of the resistance — and in some cases, they assist rather than resist movement.
More springs = more resistance when pushing or pulling the carriage away from the footbar. But more springs also means more help returning the carriage to the starting position. This is the counterintuitive part that catches beginners out: using lighter spring tension on footwork, for example, actually makes it harder to control the return phase of the movement.
Reading the Colour System
The NX901 uses a four-colour spring system. From heaviest to lightest:
- Red — full resistance. Used for footwork, long box, and exercises where the load should be substantial.
- Blue — medium resistance. The most versatile setting, used for a wide range of Pilates repertoire.
- Yellow — light resistance. Often used for upper body work, arm springs, and exercises requiring precision over power.
- Green — extra light. Used for rehabilitation work, assistance in challenging exercises, or to add the smallest increment of tension.
A note on fractions
Spring settings are usually written as fractions of the maximum. "2 red" means two full-resistance springs. "1 red + 1 blue" means one full and one medium. Your instruction guide will often recommend specific combinations — it's worth following those exactly at first, then experimenting as you build a sense of what each setting feels like in your body.
Common Beginner Mistakes
Using too much spring tension
Heavier springs feel safer — there's something reassuring about resistance that pushes back. But too much tension shortens your range of motion and masks the stabilisation work that makes Pilates effective. If the carriage is flying back to the stopper on every rep, the springs are probably too heavy.
Never changing the springs
A single spring setting for every exercise in a session is like lifting the same weight for every movement in a gym session — technically possible, but it defeats the purpose. The spring system exists to be adjusted. Leg springs, arm springs, footwork springs: each has its own logic.
"I spent my first three months on two blue springs for everything. It wasn't until my teacher watched me do stomach massage that I realised I'd been working against myself. Drop to one yellow for the rotation, she said. The difference was immediate."
A Starting Point by Exercise Category
These are general guidelines for a beginner on the NX901. Your body weight, flexibility, and experience will shift these — treat them as a starting point, not a prescription.
- Footwork (heels, arches, toes): 3–4 springs. Enough resistance to feel the push clearly.
- The Hundred: 1 red or 2 blue. You want to feel the springs without gripping for your life.
- Long stretch / down stretch: 2–3 blue. Control the return.
- Stomach massage: 2 blue for flat; 1 yellow for rotation.
- Side-lying leg work: 1 blue on the leg spring. Light enough for full range.
- Arm work (kneeling, seated): 1 yellow or 1 green. The arms fatigue quickly with over-tension.
The Calibration Certificate
Each NX901 ships with a calibration certificate confirming that spring tension has been measured and logged at the factory. If a spring ever feels noticeably different from the others of the same colour — either weaker or stiffer — that's a sign it may need replacing. Contact us with your serial number and we'll sort it out.
Springs are guaranteed for the life of the reformer. They wear, but they're designed to be replaced, and replacement is simple enough to do at home.